Follow these steps to start using Dart to develop web-only apps. If you want to write a multi-platform app, then try Flutter.
Still here? First you’ll play with Dart in your browser, no download required. Then you’ll install Dart and build a small web app.
1. Play with a web app in DartPad
With DartPad you can experiment with the Dart language and APIs, no download necessary.
For example, here’s an embedded DartPad that lets you play with the code for a todo-list generator. Click Run to run the app; the console output appears beneath the code. Try editing the source code—perhaps you’d like to add “horses” to the list of pets. To get the full DartPad experience, which includes the web UI that the app produces, open the example at dartpad.dev.
More information:
- DartPad documentation
- Dart language tour
- Dart library tour
- Tutorial introduction to using Dart for basic web programming
2. Install Dart
Once you’re ready to move beyond DartPad and develop real apps, you need an SDK. You can either download the Dart SDK directly (as described below) or download the Flutter SDK, which (as of Flutter 1.21) includes the full Dart SDK.
Use Chocolatey to install a stable release of the Dart SDK.
To install the Dart SDK:
C:\> choco install dart-sdk
You can use Aptitude to install the Dart SDK on Linux.
- Perform the following one-time setup:
$ sudo apt-get update $ sudo apt-get install apt-transport-https $ sudo sh -c 'curl https://dl-ssl.google.com/linux/linux_signing_key.pub | apt-key add -' $ sudo sh -c 'curl https://storage.googleapis.com/download.dartlang.org/linux/debian/dart_stable.list > /etc/apt/sources.list.d/dart_stable.list' - Install the Dart SDK:
$ sudo apt-get update
$ sudo apt-get install dart
With Homebrew, installing Dart is easy.
  $ brew tap dart-lang/dart
  $ brew install dart
3. Get CLI tools or an IDE (or both)
If you like to use the command line, install webdev:
$ dart pub global activate webdev
web Although using an IDE is optional, we highly recommend using one. For a list of available IDEs, see the overview of editors & debuggers.
4. Create a web app
To create a web app from the command line, use these commands:
$ dart create -t web-simple quickstart
web To create the same web app from an IDE that has Dart integration, create a project using the template named Bare-bones Web App.
5. Run the app
To run the app from the command line, use webdev to build and serve the app:
$ cd quickstart
$ webdev serve
web Or run the app from your IDE.
To view your app, use the Chrome browser to visit the app’s URL — for example, localhost:8080.
Whether you use an IDE or the command line, webdev serve builds and serves your app using the Dart development compiler, dartdevc. Startup is slowest the first time dartdevc builds and serves your app. After that, assets are cached on disk and incremental builds are much faster.
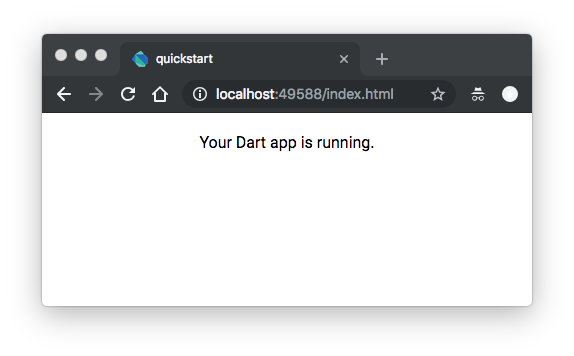
Once your app has compiled, the browser should display “Your Dart app is running.”

6. Add custom code to the app
Let’s customize the app you just created.
-
Copy the
thingsTodo()function from the DartPad above to theweb/main.dartfile. -
In the
main()function, initialize theoutputelement usingthingsTodo():void main() { Element output = querySelector('#output'); output.children.addAll(thingsTodo().map(newLI)); } LIElement newLI(String itemText) => LIElement()..text = itemText; Iterable<String> thingsTodo() sync* { ... } -
Save your changes.
-
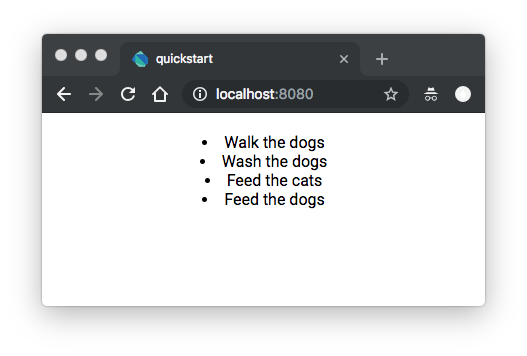
The webdev tool automatically rebuilds your app. Refresh the app’s browser window. Now your simple Dart app has a todo list! It should look something like this:

-
Optionally, improve the formatting by editing
web/styles.css, then reload the app to check your changes.#output { padding: 20px; text-align: left; }
7. Use Dart DevTools to inspect the app
Use Dart DevTools to set breakpoints, view values and types, and step through your app’s Dart code. For setup details and a walkthrough, see Debugging Dart Web Apps.
What next?
Check out these resources:
- Tutorials and codelabs for Dart
- Dart language, libraries, and conventions
- Tools & libraries
If you get stuck, find help at Community and Support.